Hello again friends, and happy Friday!
Today is the last day of my Homemade Halloween week!
I have had such fun, and am walking away from this week with so many fabulous ideas for the coming weeks to prepare for a spooky and handmade holiday! :) I am so happy to share with you another few guest posts for the week from Heather at Blessed Little Nest, Marta from Haus of Girls at ten o'clock, and come back at noon for the last gorgeous giveaway from Wild Olive! All winners will be announced tomorrow, so good luck!!
xoxox Holly
PS.
If you are looking for the Follow Me Friday post, it's here. Link up- and we will be back to normal next week! :)
-----------------------------------------------
Hi there Mommy Holly readers!
-----------------------------------------------
Hi there Mommy Holly readers!
My name is Heather from Blessed Little Nest and I am
so excited to be hanging out with you guys today.
I adore Holly, and her love of Halloween and paper
completely inspired this easy DIY project.
...Supplies...
Vintage book pages
Straw wreath
Stapler
Scissors
Sewing Pins
Wide ribbon for hanging
Embroidery Floss or Twine (yarn would work, too)
Random Bits for Embellishments- buttons, tags, etc.
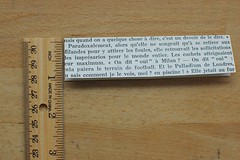

1. I used pages from a vintage book and cut then into sections
that were 2" wide. Then I folded them in half.
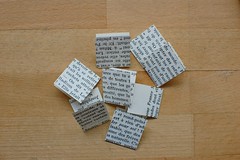
2. Next I cut the folded paper into 1" sections.
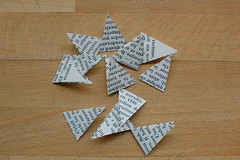
3. With the fold of the paper in my hand, I cut the corners off
the other end so I could create a triangle. I made eleven.
4. Then I slid my string into the fold of the triangles and used
the stapler to secure them. I placed mine about an inch apart.
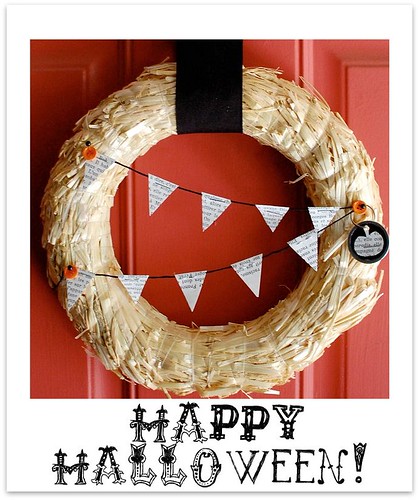
Tada! You just created mini vintage paper buntings!!

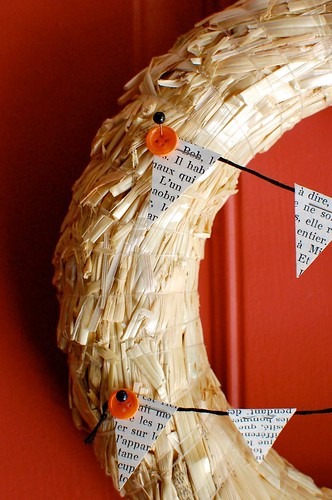
Use your pins to attach the bunting to your wreath.
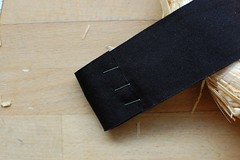
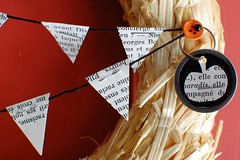
Add a loop of ribbon for hanging and embellish as you like.
I decided to add orange buttons to my pins and jazzed up my office
tag with a little black marker and a hand cut pumpkin.
Thank you so much for having me over Holly!
I loved being a part of this fun week.
I loved being a part of this fun week.



8 comments:
so cute!! great job Heather!
That is so cute!
Love this - and so easy.
I like this! It looks quick too which makes it even better. (:Have a great weekend-
Oh My Gosh! that is darling! I absolutely love it!!!
OMgoodness... LOVE that wreath...
thanks again for having me holly! it was so much fun!
Great idea. So simple, yet so cute.
Post a Comment